


Spring has certainly sprung full force here in North Carolina and I honestly can’t get enough of the outdoors. If you've checked in with me over on my blog you already know how porch crazy I am this spring—I can’t stop adding, changing and perfecting it mainly because it’s where I spend most of my time lately. So if you’re anything like me you've been itching to create some funky garden art piece. I don’t remember where I originally saw this idea, probably Pinterest but I couldn't pass up the opportunity to share it with you all, it was just too darn cool. And while it may look pretty straight forward it’s actually a little tricky.

Someone, ahem* I’m not sure who, obviously tried to simply glue the pennies on but it quite obviously failed. Ok, ok it was me! Shameful I know, but I did want to share that these projects don’t always come out right the first time. No harm done, take them off start again. So after a lot of research and trial and error I finally figured out a 4 step process to making one of these Penny Gazing Balls for your garden, which apart from reusing old materials and looking pretty snazzy it actually helps to keep slugs away. Plus it’s sort of a really fun science experiment! What ever you do, this entire project should be done outdoors since it's a pretty stinky project all around.
Here’s what you will need for Part 1: Penny Ball Base
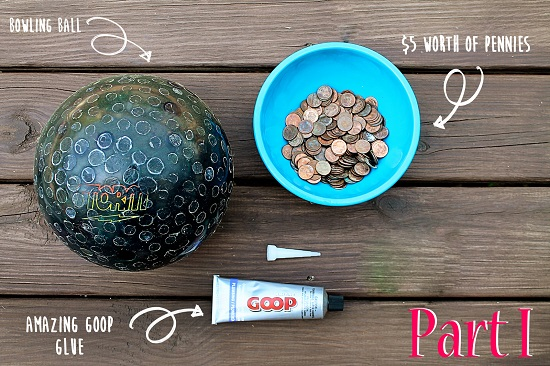
Materials
Bowling Ball or Other Ball Form
Amazing Goop Glue
$5 dollars worth of Pennies
Patience, lots of Patience*
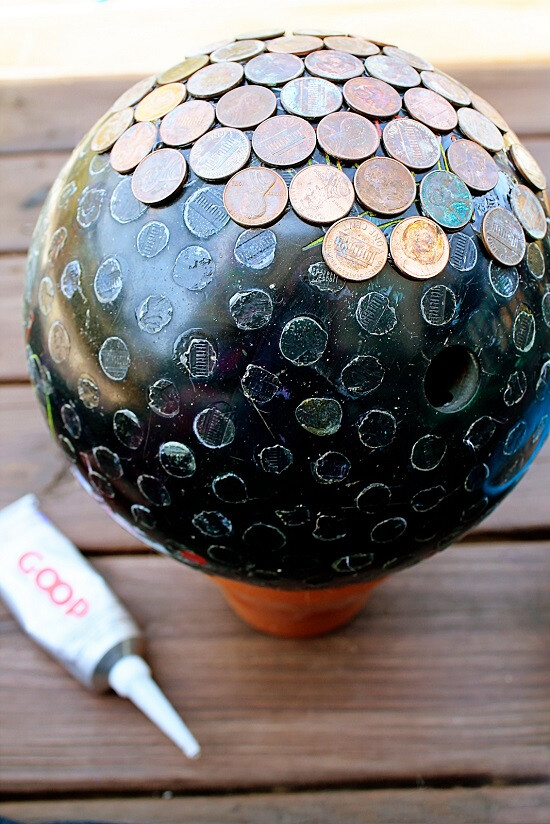
Clean the ball and pennies with a mild soap and water mixture. Make sure they are dry before moving on. Start working in small sections and take your time, this glue takes 2-5 minutes to set up and since it's like an epoxy it really will hold them! If you go too fast they will slide off. I found that if you prop your ball in a small bowl or pot it makes it easier to work around the edges. I chose not to cover the bottom of my ball since no one would know but me. Allow 24-48 hours for the glue to cure before moving on to the next step.
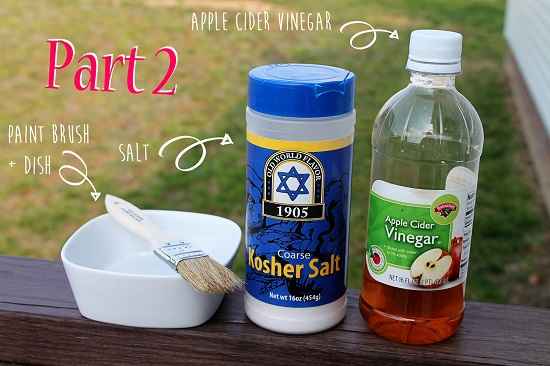
Part 2 Cleaning the Pennies:
Paint Brush
Ceramic Dish
Apple Cider Vinegar
Sea Salt-- I know it says Kosher, Sea Salt works better!
This step actually helps to clean the pennies for the next step, begin by mixing 3 parts vinegar and 1 part salt. I microwaved mine so it dissolved fast because I'm impatient. Coat the entire ball in it and after 2-5 minutes you should see it looking more copper-y, rinse off with warm water.
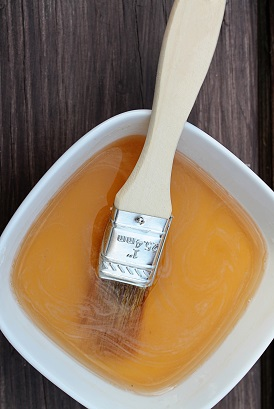
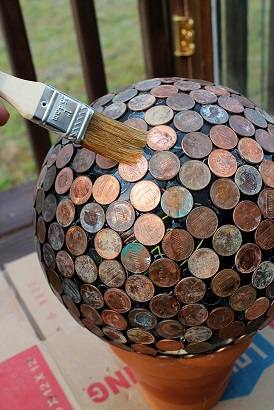
It should look brighter!

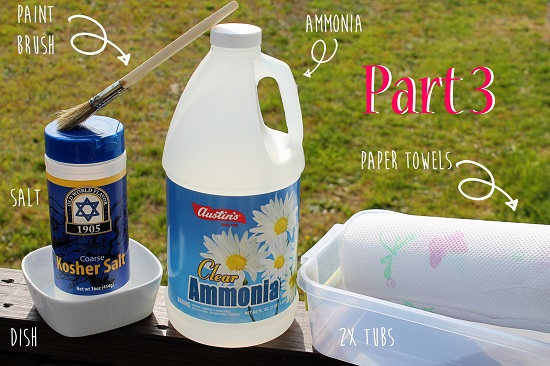
Part 3 The Chemical Chamber:
More Sea Salt
Brush
Ceramic Dish
Ammonia
Small Plastic Container
Large Plastic Container (big enough to fit your ball and must have a lid)
Paper towels
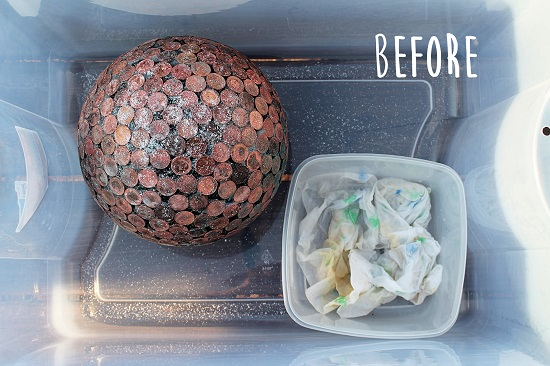
For this step we will be creating a fume chamber. I know it sounds so ominous and scary but it's not so bad. Start by placing your ball in the large plastic container. Next mix 50/50 salt and water and coat the entire ball. Next place several wadded up paper towels in the smaller plastic container and drizzle some ammonia on them. Place the small tub inside of the larger one next to your bowling ball. Cover the big container with it's lid and snap closed. You should start seeing your pennies turn blue almost immediately. I chose to let mine sit over night because I really wanted them blue!
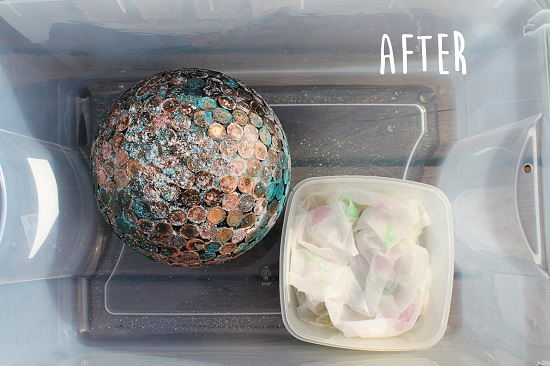
When ever your ball reaches the desired color simply take it out and rinse it off with water rubbing lightly to remove the salt deposits.


Hmmm I really don't like this at all...
ReplyDeleteI feel like it would look better if the bowling ball was a different color, and also if it was actually sitting on the ground surrounded by a garden, not on the two terra cotta pots. Also if there wasn't glue residue everywhere from her first try….
DeletePretty awesome idea!
ReplyDeleteThanks Mindy!
Delete