

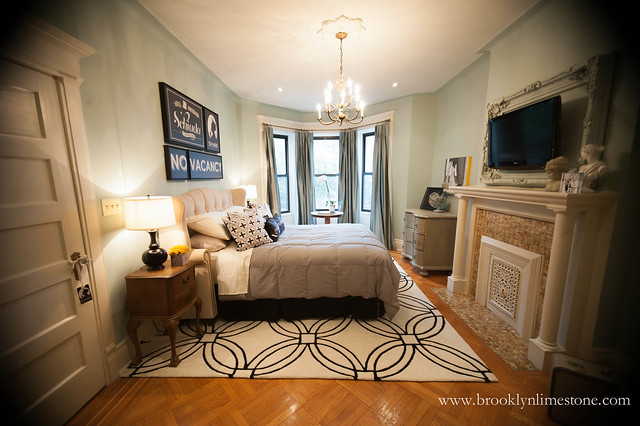
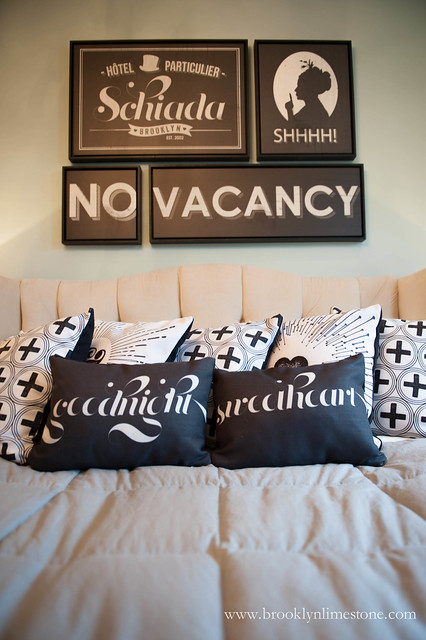
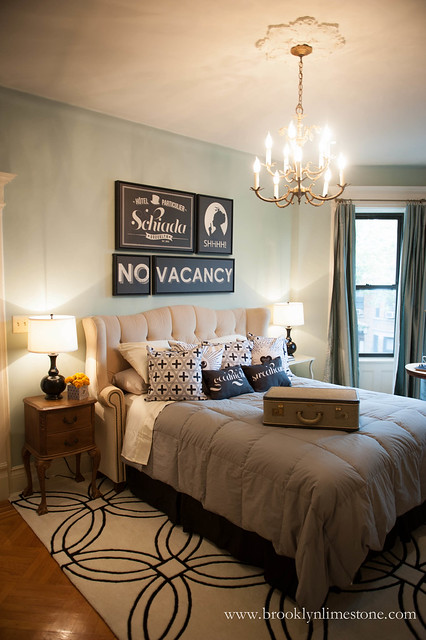
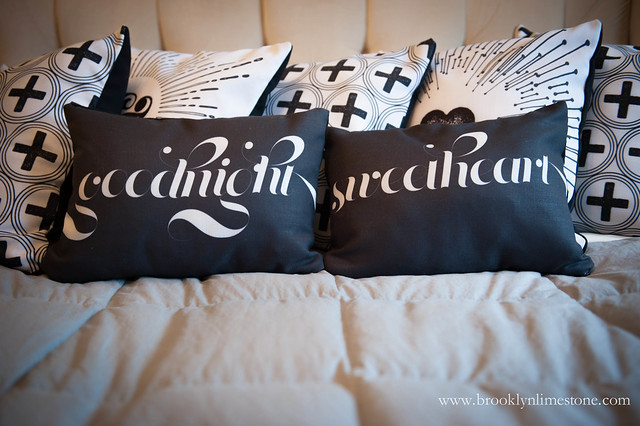
I started where all bedrooms should start – the bed. First, I hung stretched canvases– including one designed with our last name along with coordinating pieces inspired by old hotel signage. Then I added a little collection of pillows in black and cream shades – a Swiss cross pattern, and a starburst ampersand and heart design. I finished off the pillows with two petite versions that read “goodnight sweetheart.” Just the right amount of softness for me without being too over the top.
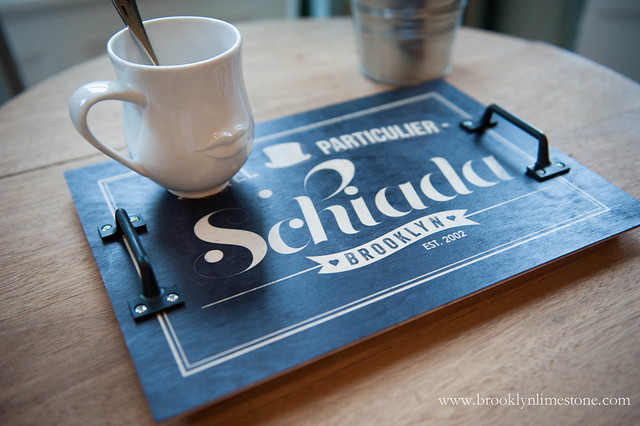
Then using the wood wall art and window hardware, I used the same artwork over the bed to create a small tray perfect for delivering a steaming cup of coffee.
Naturally I can’t complete any project without breaking out the power tools so I had to make something functional. Using a larger wood wall print, wood boards, hardware and a piano hinge, I constructed a jewelry armoire that serves as art when closed and an organizer when open.
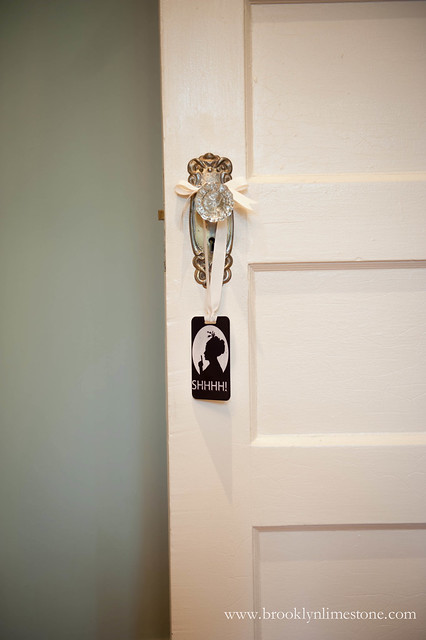
Not to be forgotten were a few finishing touches to complete the look. A woven blanket featuring the same Swiss cross design used on the pillows is at the ready for cold nights. Added to that, a luggage tag and length of ribbon became an easy-to-recreate do not disturb door hanger. A photo cube designed upside down with the same patterns used in the pillows is repurposed into a vase. Finally my favorite photo from the trip in an acrylic block for the mantle.
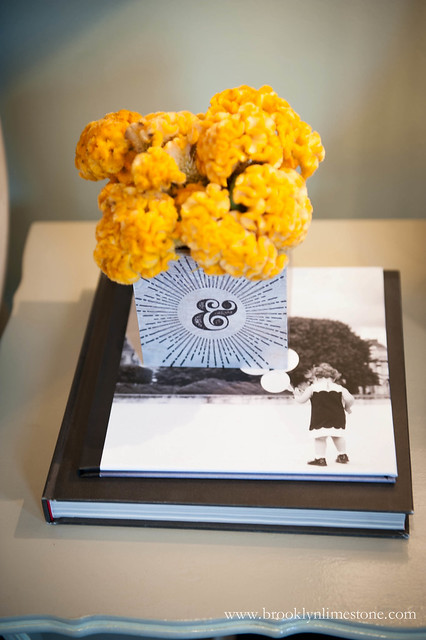
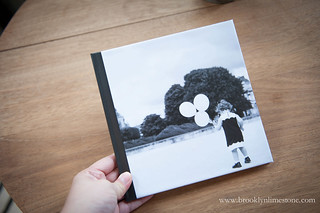
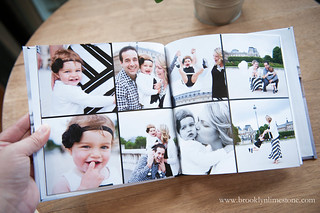
And the perfect finishing touch: I compiled my favorite snapshots from our Paris trip in an 8x8 hard cover book. This was super simple to make because of the ready-made styles offered (more than 250 to choose from!) as well as the functionality to easily pull photos from just about anywhere into the book. I love keeping this photo book, full of happy memories of that amazing trip, next to my bed. Having this keepsake of special moments is so wonderful, and I can’t wait to reflect on our amazing trip with our little girl when she’s older.
When I unwind in the evening now, in my Parisian-inspired bedroom flipping through this photo book and admiring our new decor, I am instantly transported back to The City of Lights!
I had so much fun designing these custom pieces but now that I’m done, I can’t stop thinking of new ideas! This could be very dangerous.
Disclosure: This post was sponsored by Shutterfly and Martha Stewart Living Omnimedia but all of the opinions expressed are my own.

It looks amazing, so luxe! Is your bed a king? What size is your rug?
ReplyDeleteThanks Christina.
DeleteThe bed is a queen. The rug is 9x12 which is a bit too large for this room but I liked the design so much I was willing to deal with that problem.
This is the rug in case you were wondering: http://www.overstock.com/Home-Garden/Alliyah-Handmade-Light-Grey-New-Zealand-Blend-Wool-Rug/6740618/product.html
Lovely!
ReplyDeleteI'm envious of that jewelry holder!
ReplyDeleteOh that jewelry holder is brilliant - pinned !!!
ReplyDeletexoxo
Any chance you're going to do a tutorial on that jewelry holder?! That's exactly what my bedroom needs!
ReplyDeleteThanks! Its a pretty simple build but I can break it down in a future post if you like.
DeleteI would love to see this too! I desperately need one and I love the way it's displayed!
DeleteI would third on the jewelry holder tutorial, such an awesome idea! My necklaces are currently hanging from 3M hooks stuck to the side of my dresser, this would be so much more chic.
DeleteEchoing that jewelry holder tutorial request!
DeleteLOVE!!!!!!!!!!
ReplyDeleteSo much cleverness packed into one post- I think you knocked this assignment out of the park! It's all so good, but I particularly like the tray. Where do you get the window hardware handles for it? (Don't laugh, but I have only seen cabinetry handles. Maybe because in my area we mainly have crank-open windows or modern sideways-sliding ones with a pad-type handle I can't describe.) Oh, and THANK YOU Mrs. Limestone, for your constant inspiration!
ReplyDeleteThanks so much.
DeleteThe window hardware came from Lowes. Instead of looking in their cabinet hardware section, you can find it in their miscellaneous hardware area that tends to have springs and hinges and things. I find they are the exact same as the cabinet hardware but are a bit cheaper.
That jewelry holder is amazing! I second a full tutorial post.
ReplyDeletehttp://jax-and-jewels.blogspot.com
Wow - I would have never thought that such great and creative home updates could come from Shutterfly - not to mention so personal! Love it! Thanks for sharing and now I'm determined to design some pieces myself - I really love that wooden tray.
ReplyDeleteAh feel very lazy reading your posts recently! Also been watching a youtube channel called engineeryouspace is quite clever what she does with a rental apt. Anyway feel inspired now thanks x
ReplyDeleteAll great projects. I especially like the tray. Visited their website and purchased the wall decal frames. So cute!
ReplyDeleteI didn't know they made pillows - thanks for the heads up! I just purchased a customized pillow for my husband for our 2nd anniversary (the traditional gift is cotton and I was struggling with something good to create).
ReplyDeleteThanks. Ill have to dig up the in process photos to put together a tutorial but its definitely coming up.
Delete