


Thank god I’m not the superstitious type, because my next Upcycle project includes breaking mirrors. The first mirror actually broke entirely by accident-- and then it spawned into a whole project where I needed to break more mirrors to finish what I started. It’s probably the kid in me, but there is something totally satisfying in the crunch of that glass breaking. While a stress ball would be cheaper, it’s just not as fun.
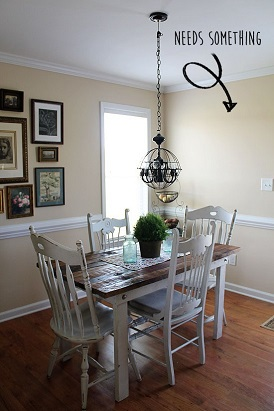
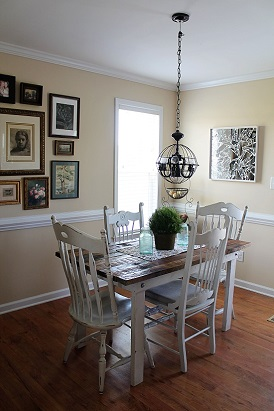
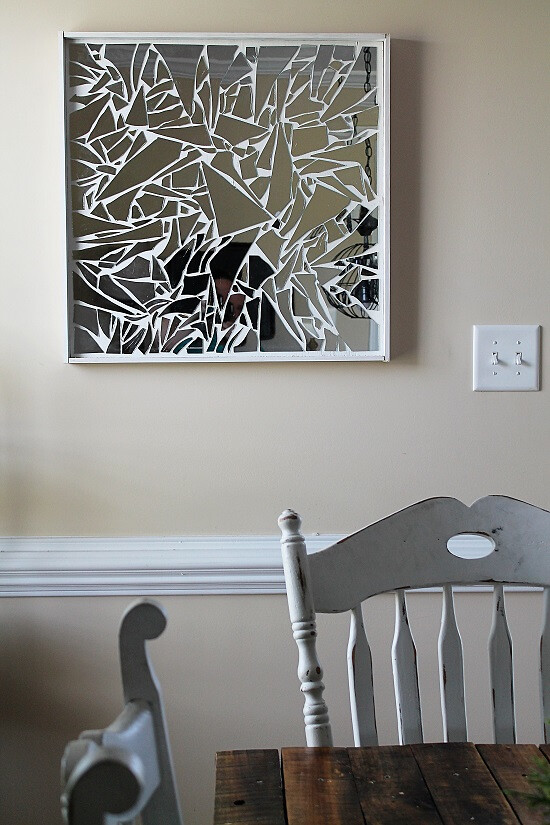
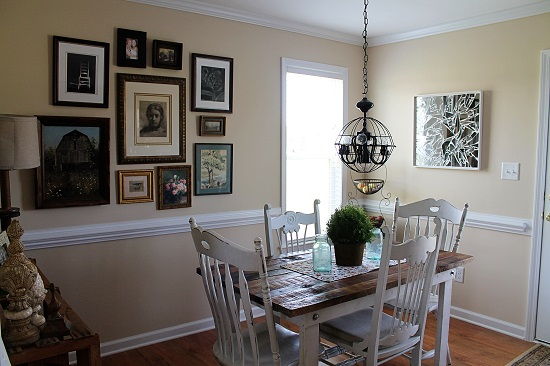
I've had this rather large empty wall in my dining room that for months now has been nagging me for something to be hung on it. It wasn't until I finished this project that I realized it was made this wall, not only does it bring a little modern edge to the room but it brings in beautiful broken light in the morning and evenings. If disco ball light doesn't make you happy, I don't know what will.
It’s a fairly cheap (about $19 dollars) and easy project, but it requires patience and safety since it requires working with broken glass. Here’s what you will be needing:
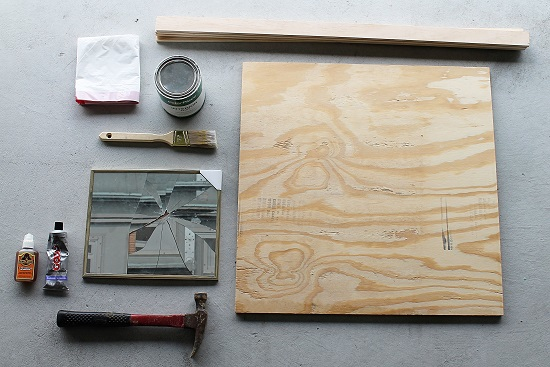
Materials:
- Piece of plywood
- Framing sticks
- Thrift store mirrors, the cheaper the better!
- White Paint
- Paint brush
- Industrial Glue
- Hammer
- Thick garbage bag
- Rubber gloves
- Baking sheet
- Brown craft paper
- Finishing nails
- Wall hanging kit
- Jig saw*
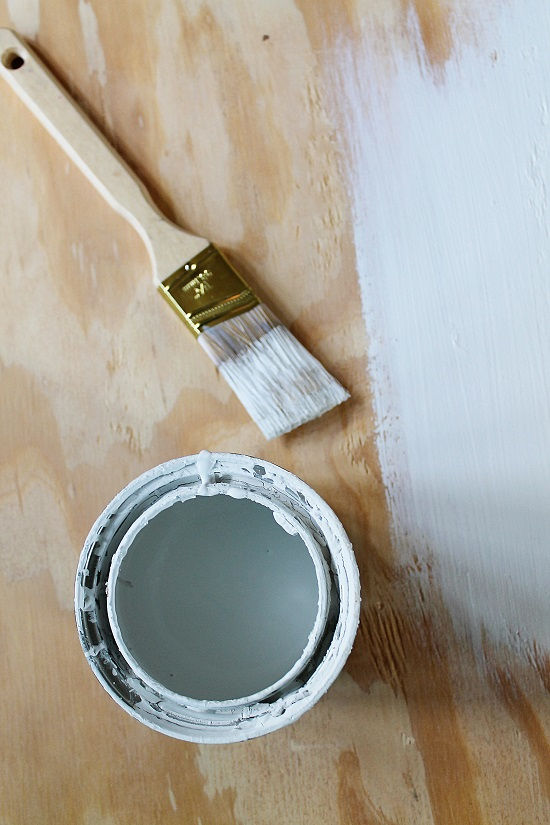
Begin by painting your plywood and framing sticks. I chose to do mine in white but you can choose which ever color you like best.
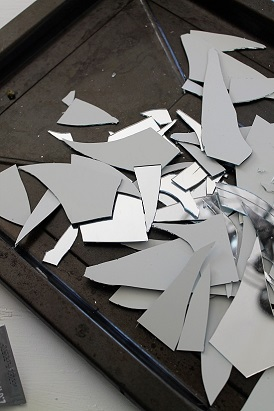
While it's drying prep your work space by covering it with craft paper. This will insure easy and safe clean up later. Remove your mirrors from the frame and place them into your garbage bag, close it tightly. For my first breaks I stood on a ladder and dropped my mirrors on to the cement floor of the garage, from there I used the hammer to create any smaller pieces I needed.
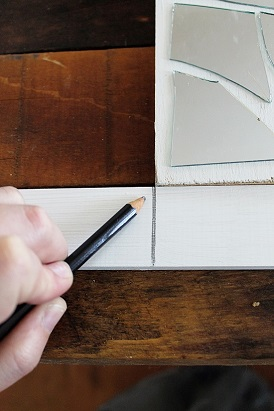
Using your gloves dump your glass pieces into a metal baking sheet and jiggle it back a forth a little bit. This will move the smaller shards to the bottom of the pan. Start assembling and gluing your shards into the pattern you want on your plywood. Allow for proper cure time before moving on.

For my frame I cut two of my framing sticks the same length of the top and bottom. For the second two sticks I cut them an 1/8" longer on each side. Nail them in place with some finishing nails and touch them up with some remaining paint.
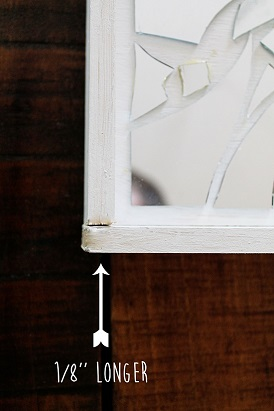
Install your wall hanger on the back of your plywood and hang for the world to see.

LOVE!
ReplyDeleteThis is beautiful - did you come up with this idea yourself? I love your creative ideas!
ReplyDeleteThank you Jenny! I don't know if anyone has done one quite like mine before, but mirror mosaics have been around for a long time, so chances are I'm not the first. Even so, it's a really fun project to tackle.
Delete