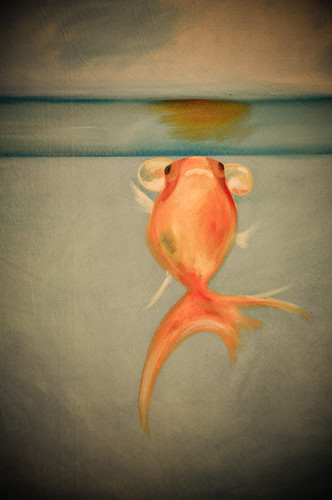
Here fishy fishy.

So excited to be sharing a new addition today. It all started after I shared my fixation on that goldfish painting (mentioned often but most recently here), I was contacted by independent artist, Kelly Duvall, to see if I would be interested in her creating a similar piece for my very own. Naturally, the answer was yes!

Kelly dabbles in a variety of mediums including sketches, watercolors and oils on everything from stationery to canvas. She creates inspired pieces like this but also event paintings and dog portraits. A kind, talented and generous artist, you definitely should check out her etsy shop!


Have I gushed enough? Ok, lets get on to the main event shall we?

Goldfish Painting
Goldfish PaintingGoldfish Painting

I waited until we were at the shore to unfurl the canvas. It took a lot of self control to wait that long - I was dying to see what was waiting for me...

Goldfish Painting

Ta-da! Love. A bit different than the original in terms of the technique, shading, coloring and shape but a beautiful piece - I am smitten!

Goldfish Painting

Now that summer is almost over, I can really start designing the bedroom with this as a centerpiece. I'm so in love with it, this is my new phone screensaver!

Goldfish Painting

Isn't it great? A huge thank you to Kelly for doing such a beautiful job.

On the downside, how am I going to make the whole room as striking as this painting? I'm wondering if I should just go ahead and repaint the walls? Or change up my concept a bit to stray from the pale tones I was planning to use? And where am I going to find the perfect tangerine lamp? More on that later but I'd love to hear your thoughts in the meantime.


Steal this Idea*: Mason Jar Sconce

Its Friday (yippee!) - time for another Steal this Idea* feature - a tiny show of appreciation for a well executed tutorial.

Today's idea just might win the award for easiest Steal this Idea evah. It's quite literally a single step! It comes from the blog of Kelly & Olive (the same duo behind the charity e-book I contributed to a while back) and is pure genius.


From plain bathroom sconce


to simply charming personality infused light fixture

in moments!


Anyone else do this? I'd love to see how it looks in a room.

Read all about it over Kelly + Olive.

postscript: *When I say steal, I really mean borrow nicely and give proper credit!

**If you have an idea/tutorial you would like me to consider for a feature, email me. I'd love to see!


Giveaway: Junk Bonanza

If you have been reading here a while, you might remember this post about junktiques

So when I got an email about an event called Junk Bonanza, I was all over it. Sadly, it's not in NYC but in MN so I can't go. Instead, I'll show my support for events like this (and send my wishful thinking for a Brooklyn installation!) by giving away a ticket prize pack: 2 VIP tickets, Flea Market Style Magazine, a hat and tote bag.


Would you or someone you know like to go (and tell me all about it so I can live vicariously ?).

If so just leave me a comment, tweet a link back to this post or blog about the event (or all three!) Just be sure to leave a comment for each along with some way to reach you if you win. I'll enter each comment as one entry.

Good luck!

in case you are curious, I was not paid for this or any other post. i just really like the idea of an event devoted to showcasing vendors that make beautiful things out of old junk that I just had to share it with it!

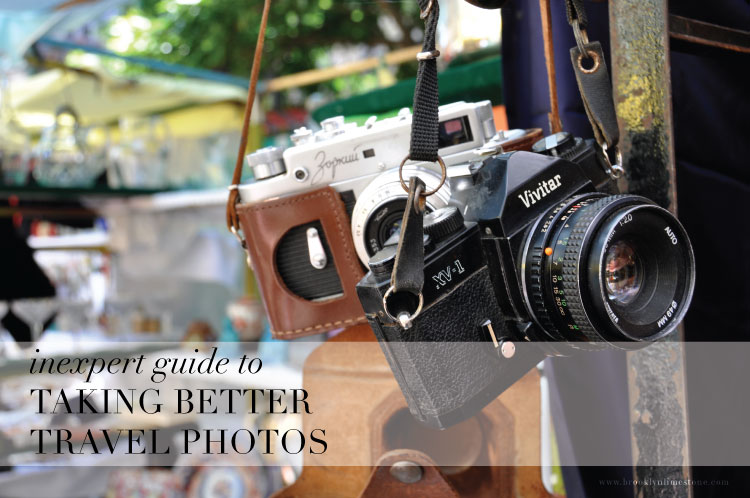
Mrs. Limestone's Inexpert Guide to: Taking Better Travel Photos

So as I’ve said, I don’t consider myself an expert by any means – just my own experiences to go on. So its with caution I humbly present my inexpert guide to: Taking Better Travel Photos. For more inexpert advice, read my guide to planning a trip.


While these tips are written with travel in mind, they definitely apply for all kinds of photography near or far. While I hope you find these tidbits handy, nothing will substitute for understanding how your camera works and good old fashioned practice at making you a better photographer.

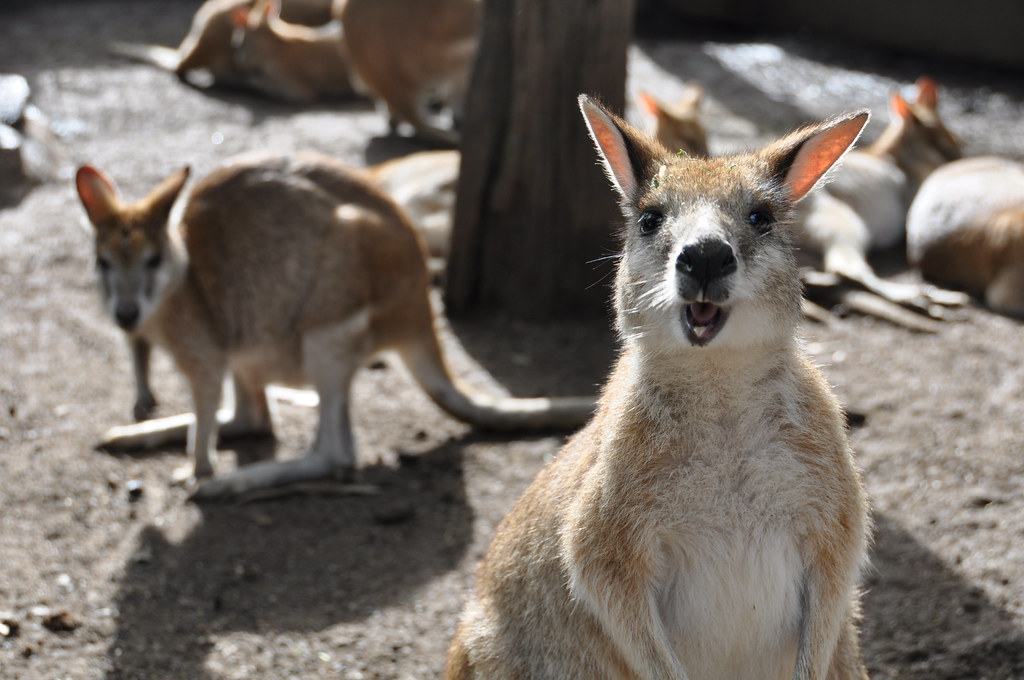
Australia (278 of 308)

Some of these may seem blatantly obvious while others might counter advice you’ve heard elsewhere. Take what works for you and leave the rest.
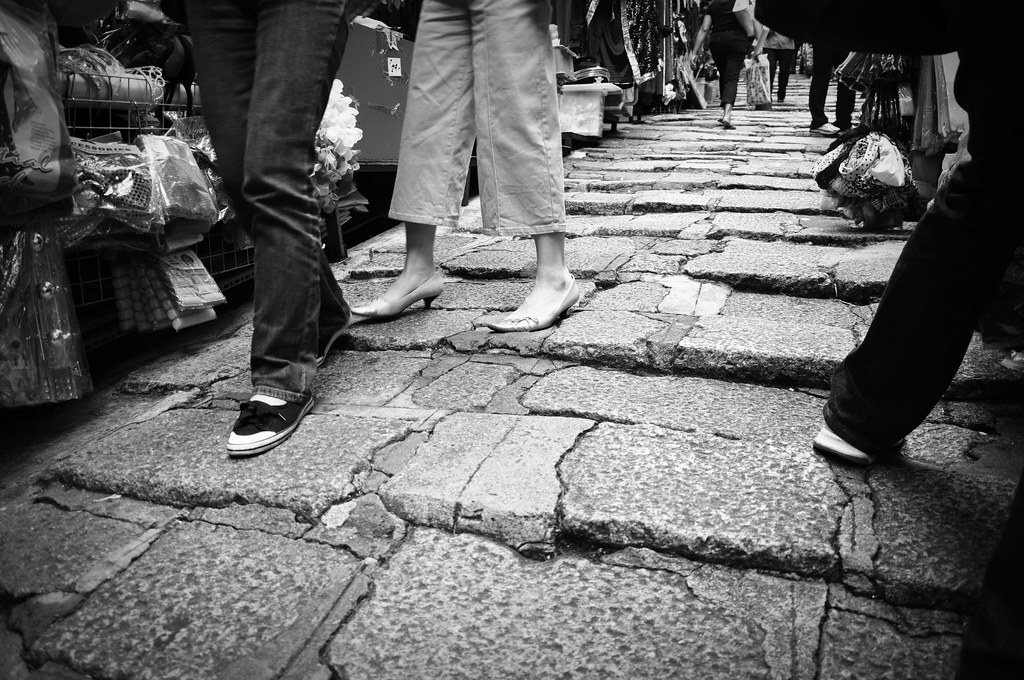
StreetsofHongKong
hong kong

Tell a Story: Rather than focusing on photographing the most picturesque landscape or tourist attraction of your destination, make a point to document other aspects of the trip. Imagine having the share the story of the trip with a friend using photos alone. That might mean you photograph your frightening drive through traffic or a long wait in line. The trip is more than just the picturesque parts. Extra points for photographing those less ideal moments creatively.


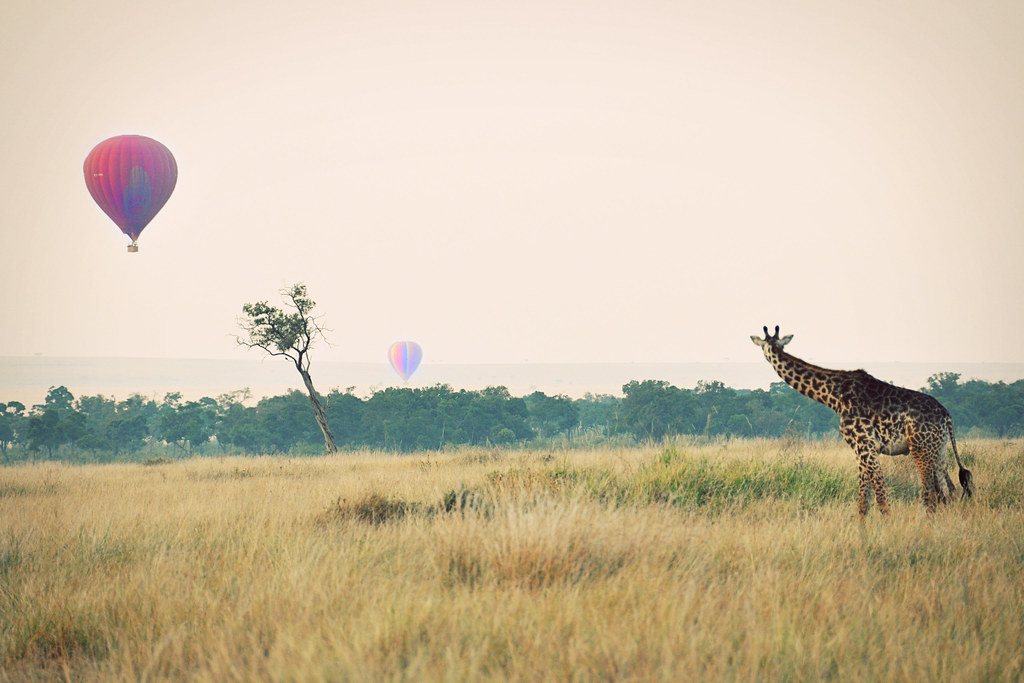
GiraffeandHotAirBalloons
masai mara

Forget quantity, think quality: While practice is very important, try to resist the urge to take 10 or 20 shots of the exact same thing and angle. Spend that same time focusing on a few shots where you think and act carefully about the composition, position and timing. Really look through your viewfinder and think about how to make a better shot. It is often the difference between a lot of ok shots and one good one.


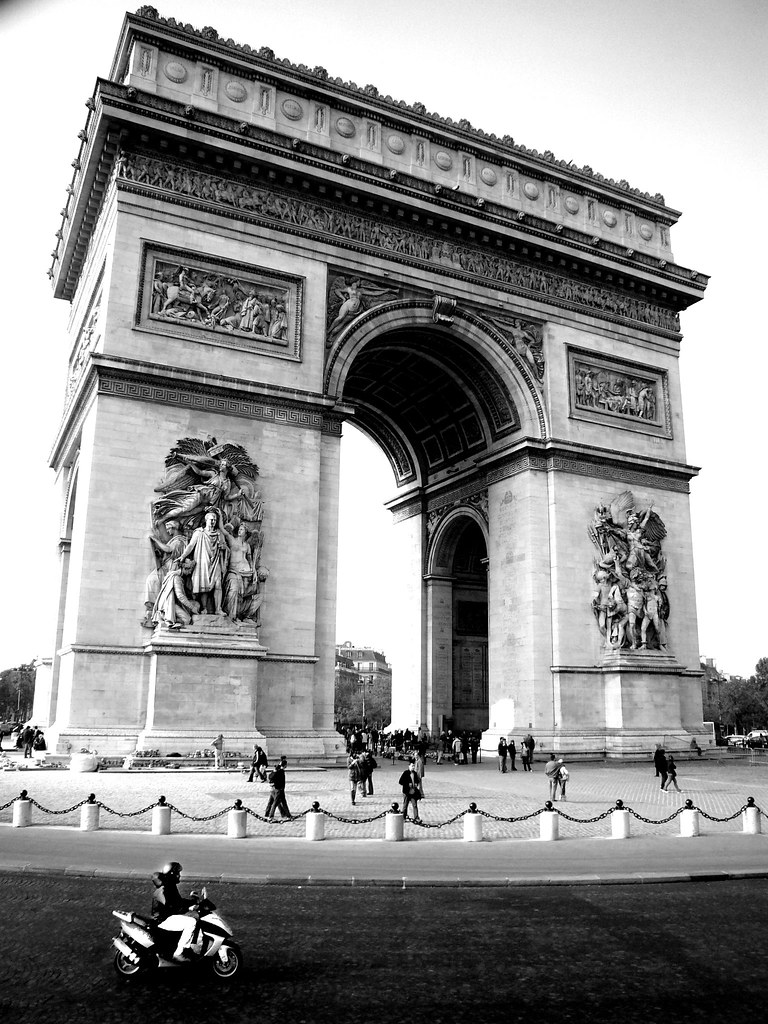
ArcBW2
paris

Carry your camera: And that means outside of its case, ready to go. (Having it turned off in your purse is almost as bad as not having it all.) This is a hard one for those with a bulky SLR like me. I hate to carry it around. Sometimes carrying it in plain view makes me uncomfortable. But invariably, the minute I don’t have my camera ready, something really interesting passes me and I’m left wishing I could have gotten a shot.
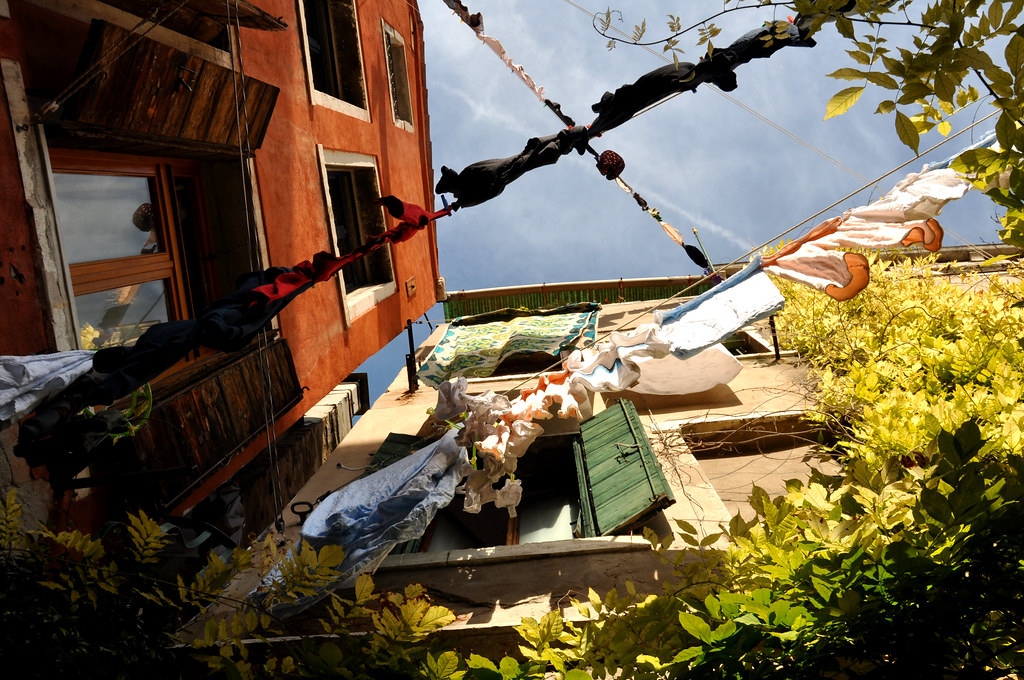
Laundryoveracourtyard

venice

Vary your perspective: In addition to the landscapes you’ll not doubt be taking, include some close up of iconic or important items that are specific to your destination. That might mean photographing cans of sake at a Japanese supermarket or a pile of brass fixtures at a Paris flea market. Anything that has meaning can add interest.

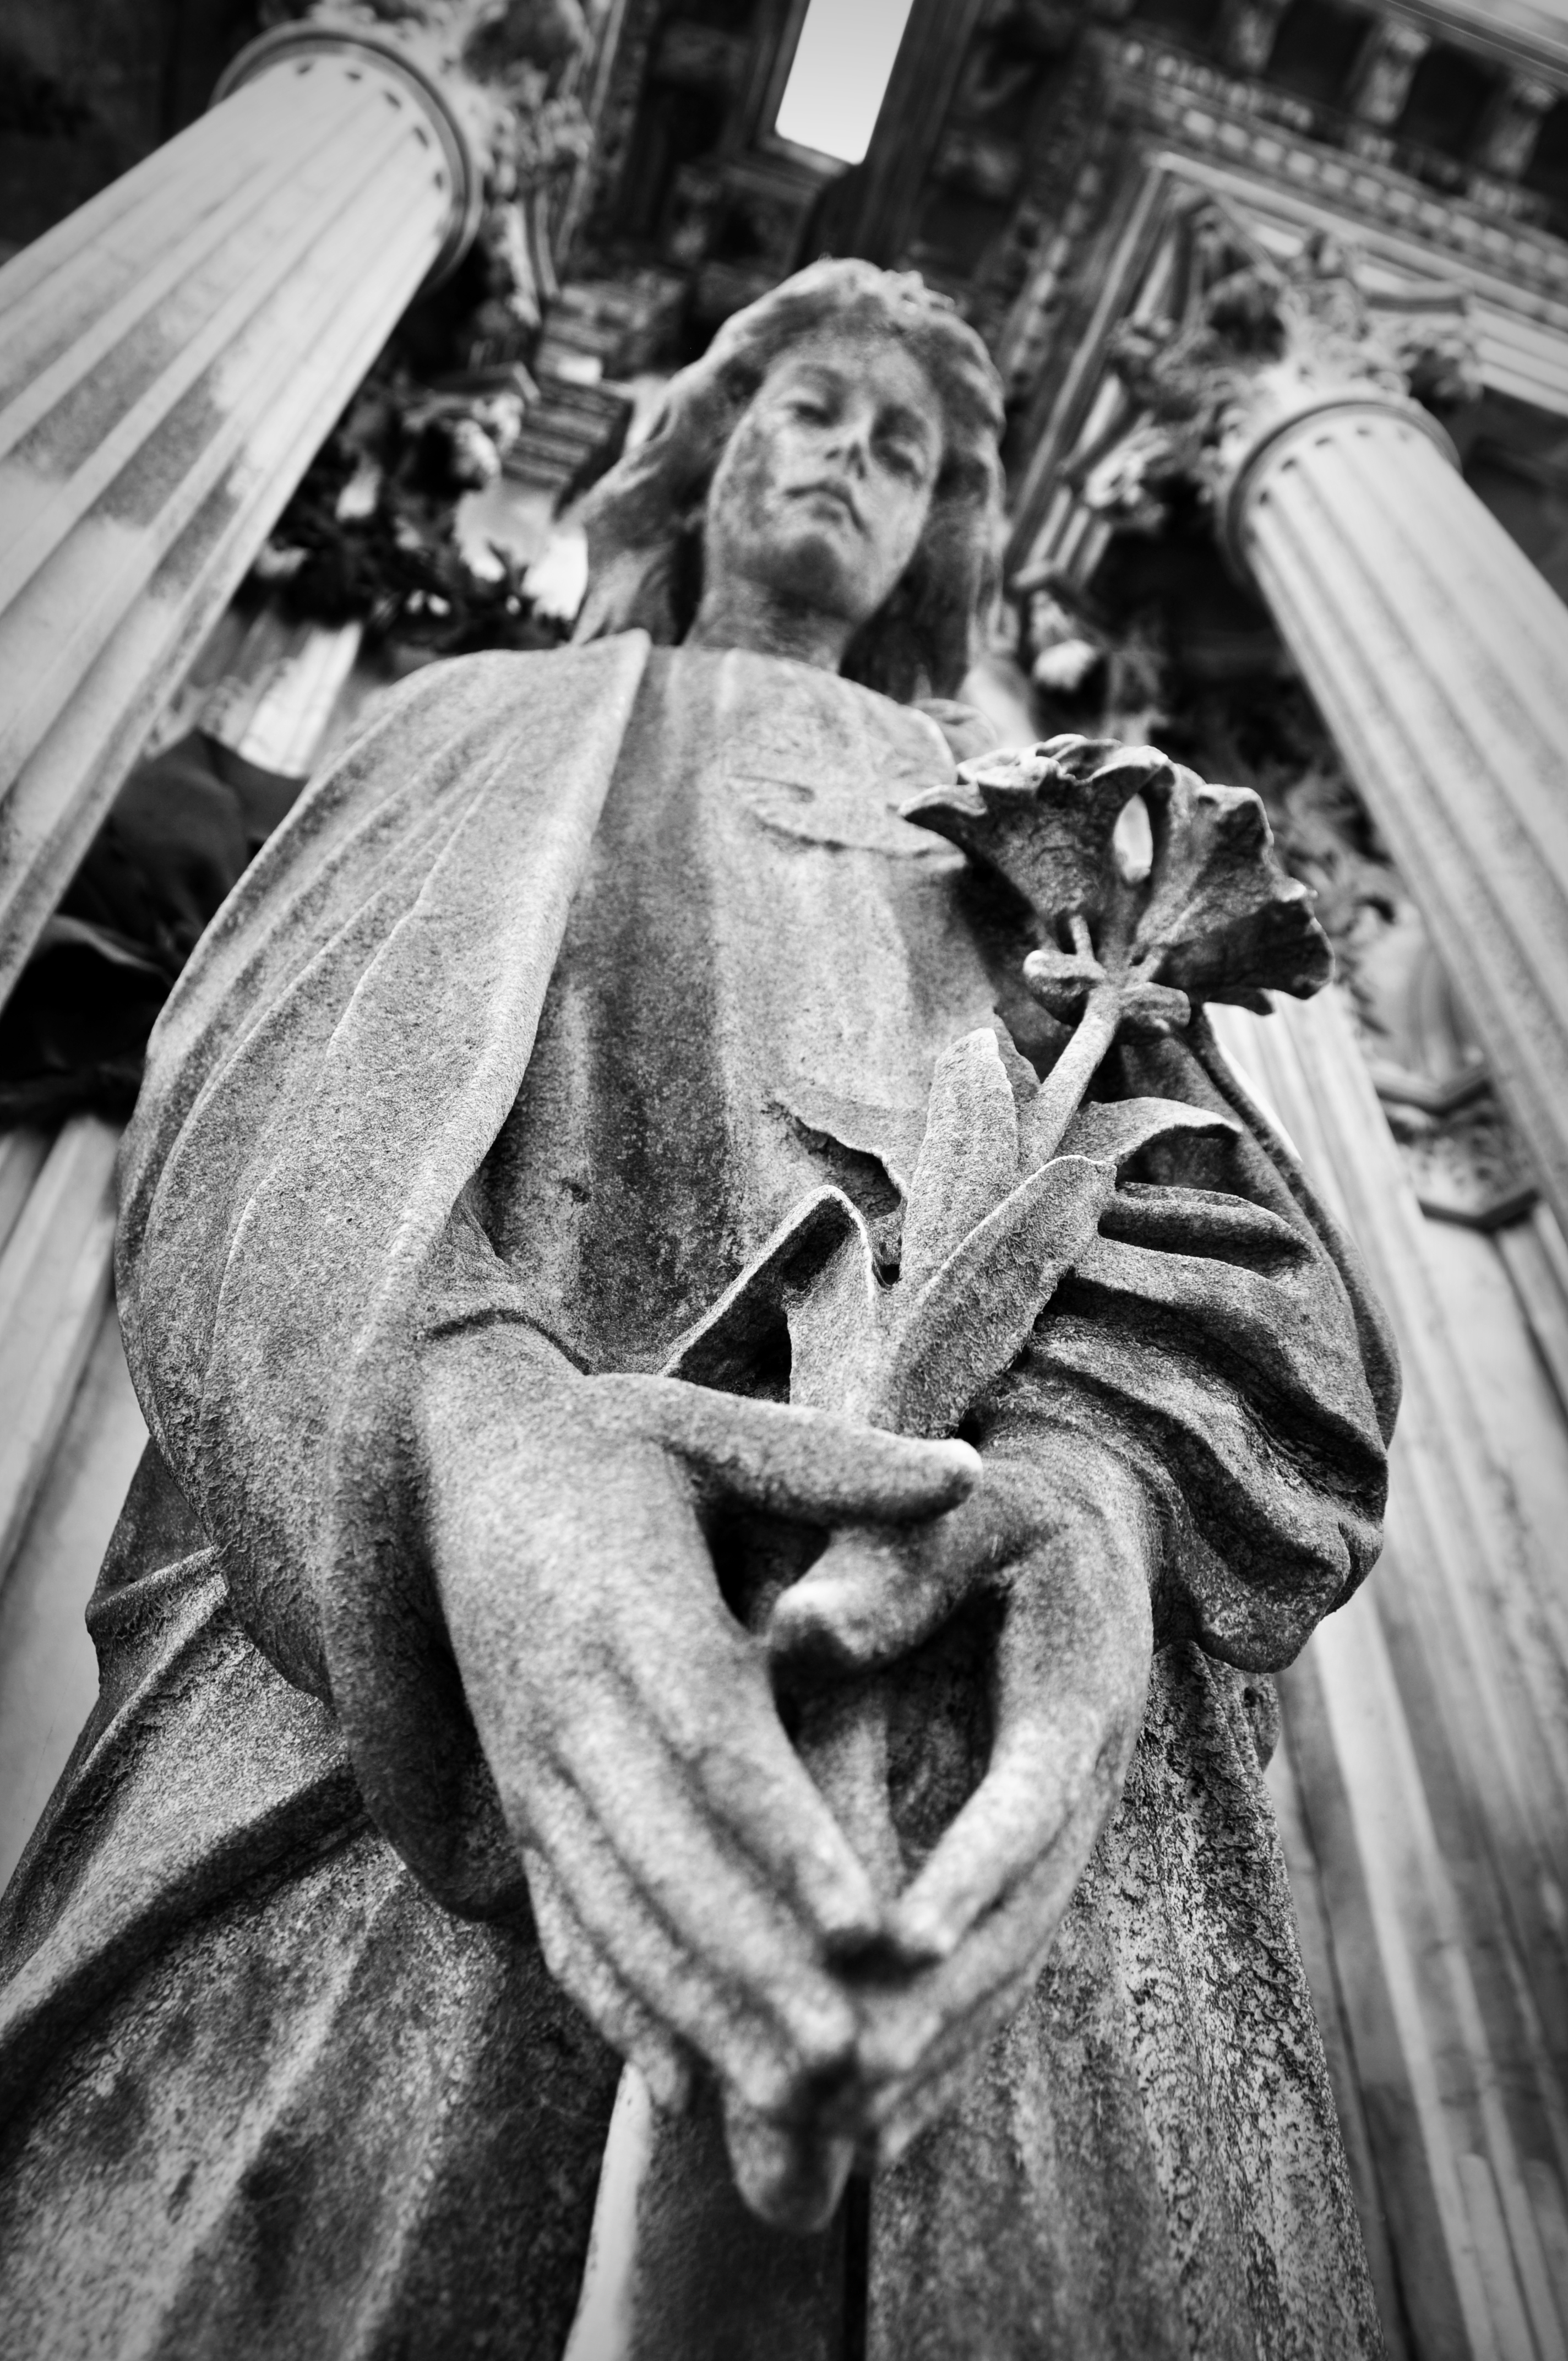
RecoletaCemetary4
buenos aires

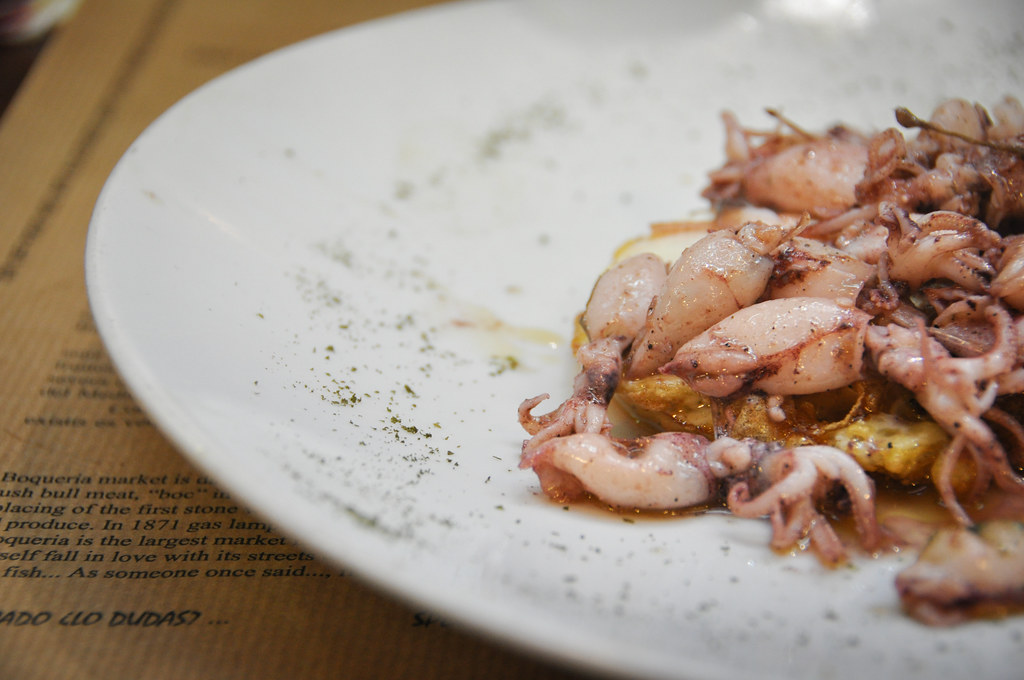
Edit ruthlessly: Once your home, become your own worst critic. This is the time to take an objective look at your photos before you put your favorites online or in an album. Go through your photos with a careful eye so you keep the best ones in the final set. The goal isn’t selecting the most crisp or well framed photos but rather the ones that serve a purpose. Ask yourself: Does an image tell the story? Have some inherent beauty? Illicit an emotional response? Capture an important element of your trip? Make you look particularity hot? If the answer is no, don’t feel bad about deleting.

2011DSC_0542Barcelona, Feb 2011.jpg

barcelona


So those are my 'secrets’'. Anything surprised you? Do you have your own tips you’d like to add?


Forget Me Not (John Derian Inspired) Reminder Tray

You might remember this little mail & display center I added to our hallway last year but I still needed some kind of tray or dish to catch those items that I am always misplacing! So when I stumbled onto some gorgeous decoupaged plates from John Derian while shopping and thought I should give my own version a try to serve that purpose.

This is hardly a new idea but this particular project was one of the easiest DIY projects I've ever done so I just had to share. I'm tempted to make an entire wall of them or make some variations as gifts but this version will do for now.

JohnDerianInspriedGlassPlatebyBrooklynLimestone (3 of 16).jpg
If there is one thing that I'm not, its organized. So if I can work in some reminders for myself into decor, that is always a welcome addition. I designed the plate with an image of the brain from Gray's Anatomy and got to work.

JohnDerianInspriedGlassPlatebyBrooklynLimestone (1 of 16).jpg

I printed the image on an inkjet knowing it would get a bit faded and cloudy from the water and glue. (Using a laser printer would avoid this issue.)

JohnDerianInspriedGlassPlatebyBrooklynLimestone (2 of 16).jpgJohnDerianInspriedGlassPlatebyBrooklynLimestone (9 of 16).jpgJohnDerianInspriedGlassPlatebyBrooklynLimestone (11 of 16).jpgJohnDerianInspriedGlassPlatebyBrooklynLimestone (10 of 16).jpg

After watering down my modpodge (2 parts glue, 1 part water), I spread it on the back of my plate. Then a very quick dunk in a water bath for the image, before turnning it face down on the back of the glass.

JohnDerianInspriedGlassPlatebyBrooklynLimestone (12 of 16).jpgJohnDerianInspriedGlassPlatebyBrooklynLimestone (16 of 16).jpg

Using wet hands, push all of the airbubbles out of the paper. The objective is to get the paper and glass in complete contact. You'll probably have a few imperfections in terms of paper creases but don't worry about it. Perfection isn't the goal. Then let air dry.

JohnDerianInspriedGlassPlatebyBrooklynLimestone (14 of 16).jpg

I thought I would need a coat of paint on the bottom of the plate but that doesn't really seem necessary. I may add a layer of shellac or sealer at some point but its pretty well glued on there now.

JohnDerianInspriedGlassPlatebyBrooklynLimestone (15 of 16).jpg

Voila! I also made one with a laser printed black and white image (a paris opera house postcard from the Graphics Fairy) just so you can compare the crispness of the laser to the inkjet.

What do you think? Have you decoupaged with good results?

If you'd like to see my other tutorials, click over to the DIY.

Follow @ Instagram

© 2007-2020 Brooklyn Limestone. All Rights Reserved. Privacy Policy
Back to Top