I’m so excited to be sharing the
wood rack that makes a cute farmers market display. I’ve made it as part of the ScotchBlue™ Painter’s Tape and The Home Depot’s, “Get It, Got It, Go” Summer Blog Hop hosted by
Centsational Girl. All of the projects featured were completed with ScotchBlue™ Painter’s Tape and supplies purchased at The Home Depot so I know they will provide lots of inspiration to everyone who enjoys a good DIY project.

Like most city dwellers, I’m short on space so I like to make the most of vertical space I do have whenever possible. Nowhere is that more true than in the backyard! When the weather turned warmer, I cooked up the idea to build a farmers market inspired wood rack to display plants, organize garden doodads and use for party displays. I’m so happy with how it turned out and am excited to share it with you.

Supplies to make a Farmers Market Wood Rack
- 1x3 lumber (for the tray frames and sign)
- 1x2 lumber (for the A-frame)
- Garden stakes (for the tray slats)
- Wood screws
- Wood Glue
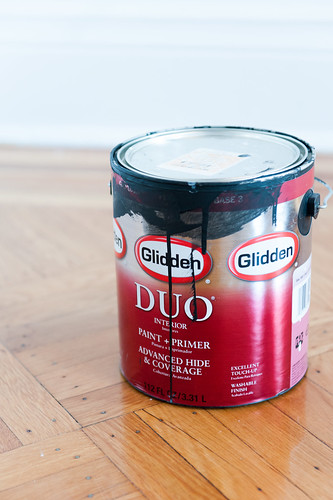
- Chalkboard paint
- Miniwax® Stain in Classic Gray
- 6 Roofers Nails
- 1 piano hinge
- ScotchBlue™ Painter’s Tape for Delicate Surfaces with Edge-Lock™ Paint Line Protector 2080EL
Supplies to make a Farmers Market Wood Rack
The build was simple and can most easily be broken down into 3 parts: trays, frame, and signage.

After making all of my cuts, I built 3 trays by screwing the tray frame together and then screwing in the slats at the bottom.


Once that was complete, I built an A frame to support the trays via rungs and scrap wood chucks along with a space at the top for a farmers market inspired sign.


After building each part separately I gave the entire piece a rough coat of the stain to instantly transform the very fresh wood into something with a bit more character.


Once that was dry, it was time to add a little charm and function to this wood rack with the chalkboard paint. Using the ScotchBlue™ Painter’s Tape for Delicate Surfaces with Edge-Lock™ Paint Line Protector, I taped of a rectangular shape on both the front of the trays as well as the 3 planks I was using for my signage. To add a little more visual interest, I cut 4 circular shapes from the ScotchBlue™ Painter’s Tape and placed them at the edges of the rectangle. I then gave each uncovered area a few light coats of the chalkboard paint and let dry for a few moments before removing the tape and allowing the paint to cure completely.


Finally, I laid the trays in their designated spots on the wood rack frame and nailed the sign boards in at the top and voila, the build was complete. Not only does it work beautifully as a plant stand but it’s great as a garden party bar stand. I think I’ll be getting quite a lot of use out of this little project.


Want more inspiration? Stop by to see some of the other blog hoppers projects including
Domestically Speaking,
320 Sycamore,
Dukes and Duchesses and of course
Centsational Girl herself!

disclosure: I am proud to be a 3M- sponsored blogger, and, as part of my responsibilities, I get the opportunity to evaluate new products from ScotchBlue™ Painter's Tape. Opinions are my own and additional product used in the project were selected by me. 
For more inspiration, follow
ScotchBlue™ Painter’s Tape on
facebook,
twitter, and
pinterest, and follow
The Home Depot on
facebook,
twitter, and
pinterest!


Looking for more great DIY Ideas? Check out this DIY Hanging Vertical Planter


.jpg)