

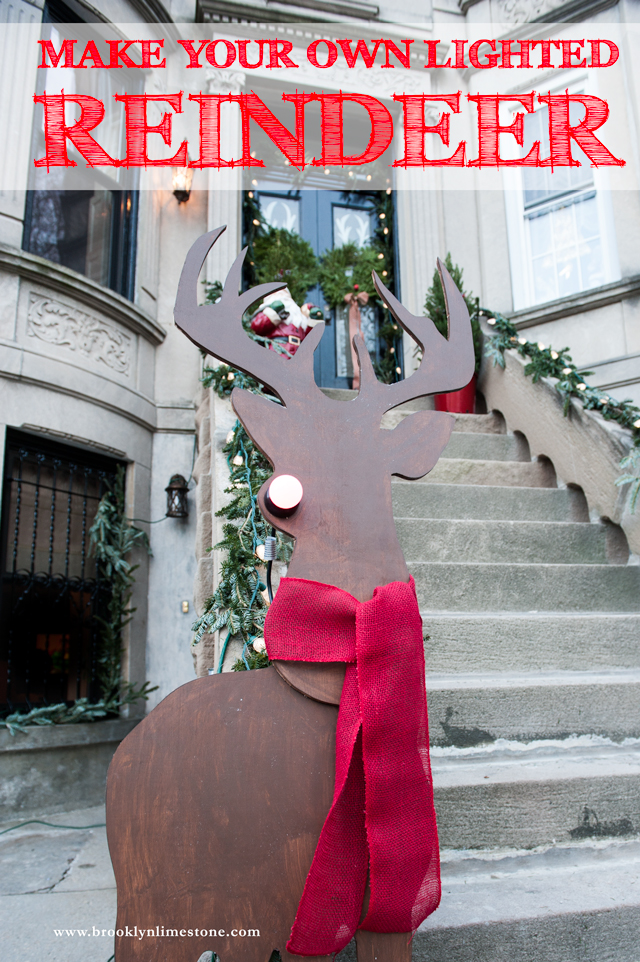
Now that my outside Christmas decorations are up, I can rest easy this weekend with only a few last minute holiday chores. My favorite part of the decor this year is the lighted reindeer silhouette. I call him Rudy, the Brooklyn Reindeer!
Once I had the idea for this project I was very jazzed about it will admit it took quite a bit of planning to get right. First there was the issue of the silhouette - did I want something cartoonish and whimsical? or anatomically correct? should he face left or right or center? how much detail can I add without it being too difficult to cut? Then I had to figure out what kind of bulb and fixture to use and how to attach it to the frame. Now that it's complete it seems obvious but it didn't start out that way. For all of those reasons, I thought this would be a perfect project to share (and save you lots of head scratching) for anyone who wants to make their own.
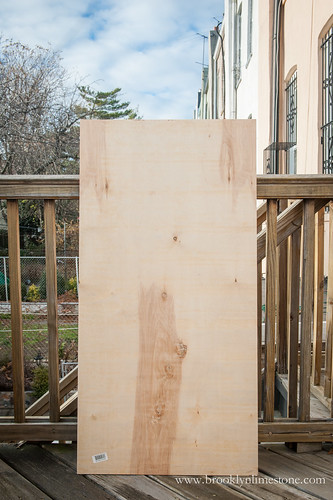
Once the plan was sorted, it came together very quickly. As I've said before, some of my favorite decorations come from the lumber aisle at Lowes!
Materials: Plywood, liquid nails, wood stain wipes, exterior stake spotlight
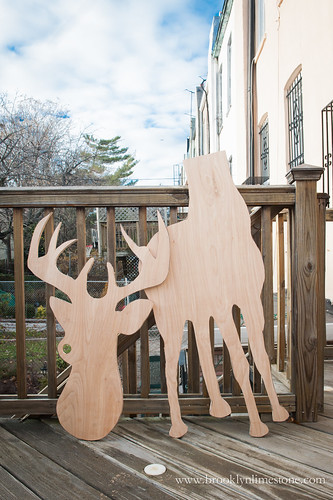
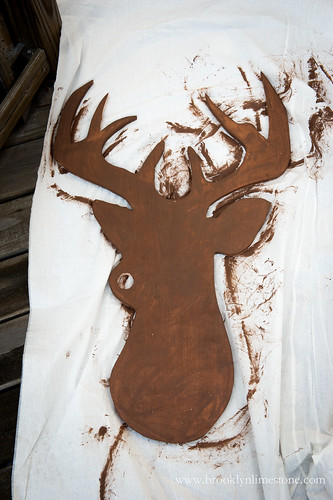
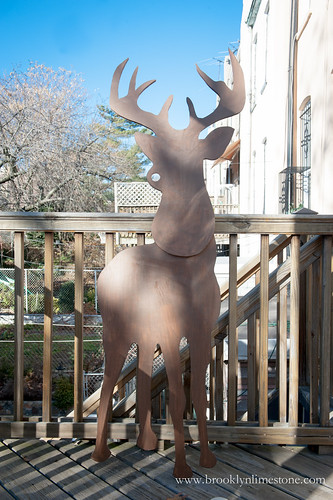
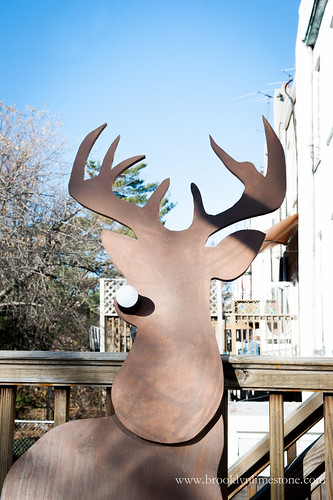

Instructions: After drawing the silhouette on the wood, cut out with a jigsaw. The hole for the nose should be the same size as the circumference of the base of your stake light (I did a very rough cut and jammed it in there so it wouldn't fall out). Stain or paint the pieces and let dry. Glue top and bottom pieces together with liquid nails or wood glue. Clamp and leave overnight to cure. Insert your light and screw in lightbulb. I added a wide burlap ribbon for a scarf but you could use a real scarf or any embellishment you think would work well with your decor. Voila - your very own red nosed reindeer!

WHere can I get the silhouette pattern?
ReplyDeleteI didn't use a premade pattern - just studied some deer silhouettes I found and then mentally picked the parts I liked best. Since I knew I was going to cover it in brown stain, I had the freedom to sketch and resketch until it looked right to me without worrying about seeing my mistakes. You are welcome to take the image above and recreate a template from it if you find it easier.
DeleteOh and I wanted to point out that my drawing could probably be improved by making the body larger. I intentionally made the head a bit larger than normal b/c I wanted it to jut out for perspective reasons but I think I went a little too far. No matter - it still looks about right.
DeleteYour talent and creativity never cease to amaze me!
ReplyDeleteAwesome!!
ReplyDeleteI love love love the lighted nose! So fun and whimsical!
ReplyDeleteVery clever and cute!
ReplyDelete